How to Draw Pearl (Steven Universe) VIDEO & Step-by-Step Pictures
Page 1 of 4
Use the step-by-step drawing instructions below to learn how to draw Pearl from Steven Universe. Stay tooned for more tutorials!
Stay tooned for more free drawing lessons by:
All of the free art lessons on EasyDrawingTutorials.com are good drawing tutorials for beginners and experienced artists alike. The online tutorials are easy to follow; they teach you the how to draw basics while showing you how to draw fun cartoon characters step by step. Each cartoon character has a video drawing tutorial option, as well as step-by-step photos and written text to follow.
RELATED TUTORIALS
To draw Pearl from Steven Universe step by step, follow along with the video tutorial below and pause the video after each step to go at your own pace. You may find it easier to follow the step-by-step drawings below. The new lines in each step are shown in red, and each step is explained in the text below the photo, so you'll know exactly what to draw in each step. You may want to open the video in a new tab and use both drawing methods! Take your time and draw at your own pace.
 VIDEO & Step-by-Step Pictures")
The Narrated step-by-step video tutorial:
Intro: Start off with a pencil sketch. In the beginning stages, don’t press down too hard. Use light, smooth strokes for sketching.
Step 1: Draw a small circle at the top of the page as a guide for Pearl's head. First make four marks to determine the circle's height and width. Then connect the marks using curved lines. If you're struggling to draw the circle, just trace the outer rim of a small, circular object like a coin or a bottle cap. Under the circle, draw a U-shaped line as a guide for the lower part of the head and jaw. Don't draw this line too low or Pearl's face will be too long.
Step 2: Inside the head, draw two intersecting lines as guides to help you place Pearl's facial features later. Pay attention to the placement of these lines. Curve the lines so that they contour to the head. Under the head, draw two short lines as guides for the neck.
Step 3: Under the head, draw a long rectangle as a guide for Pearl's torso. Notice how thin the rectangle is. The length should be a bit longer than the entire head.
Step 4: On the right side of the body, draw a long, angled line as a guide for Pearl's first arm. The line should be similar to a greater-than sign (>). On the bottom tip of the line, draw a small pentagon as a guide for the hand.
Step 5: On the left side of the body, draw another long, angled line as a guide for Pearl's other arm. This line should be less angled than the line for the arm on the right. At the bottom of this line, draw a small diamond-like shape as a guide for the hand.
-
Latest
 How to Build a Bottle Rocket With a Parachute. : 14 Steps ...
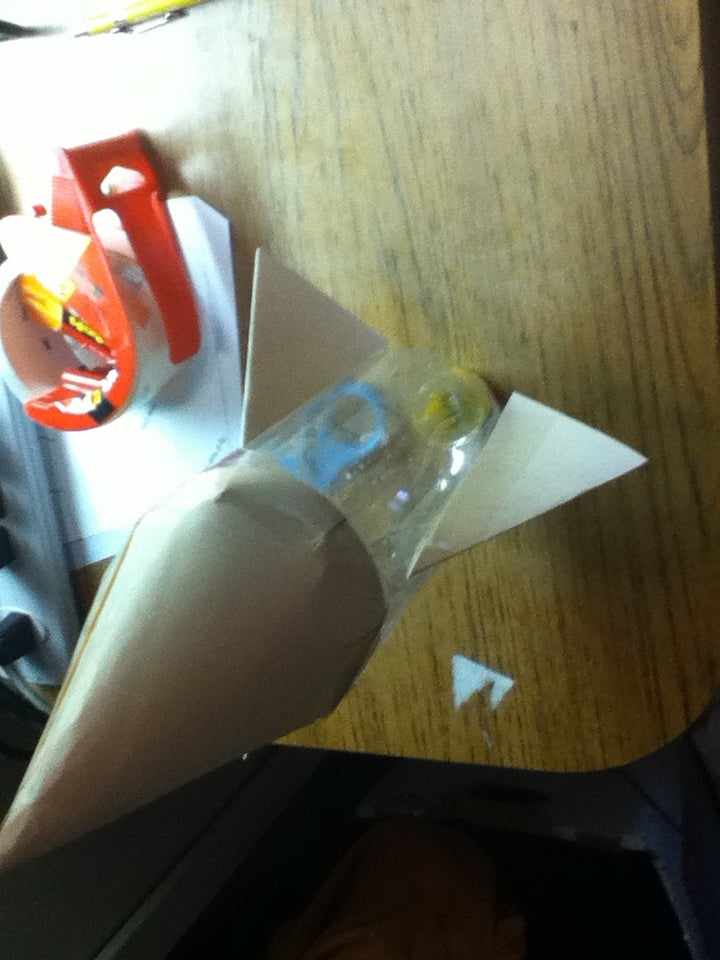
Introduction: How to Build a Bottle Rocket With a Parachute.Have you ever wanted to be like a NASA scientist.Well now you can with my easy steps on how to build your very own bottle rocket.You will be...
-
Next
 Water Bottle Rockets
Introduction: Water Bottle RocketsThese instructions detail the steps involved in building a water bottle rocket. These rockets use pressurized air and water to fly hundreds of feet in the air, and ma...
Popular Articles
- How Often Should the Average Person Upgrade Their Smartphone?
- Why Does Refresh Rate Matter Beyond Smooth Scrolling?
- What Makes a Smartphone Feel “Comfortable” to Use Daily?
- The 5-minute Phone Declutter: Organize Your Apps and Mind
- Why Do Smartphones Become Anchors in Daily Decision Flow?
- AI Features Changing the Smartphone Experience